Luvie Industry · 2026-10-20
PU stone panel outside corners: molded pieces or a mitred detail?
A quotation based only on wall area can miss the most visible part of a stone-look feature wall: the outside corner. A flat sample does not show how relief, color and joints will turn around a column. Importers ordering PU decorative panels should resolve corners before releasing quantities, especially when several stores or project teams will install the same finish.
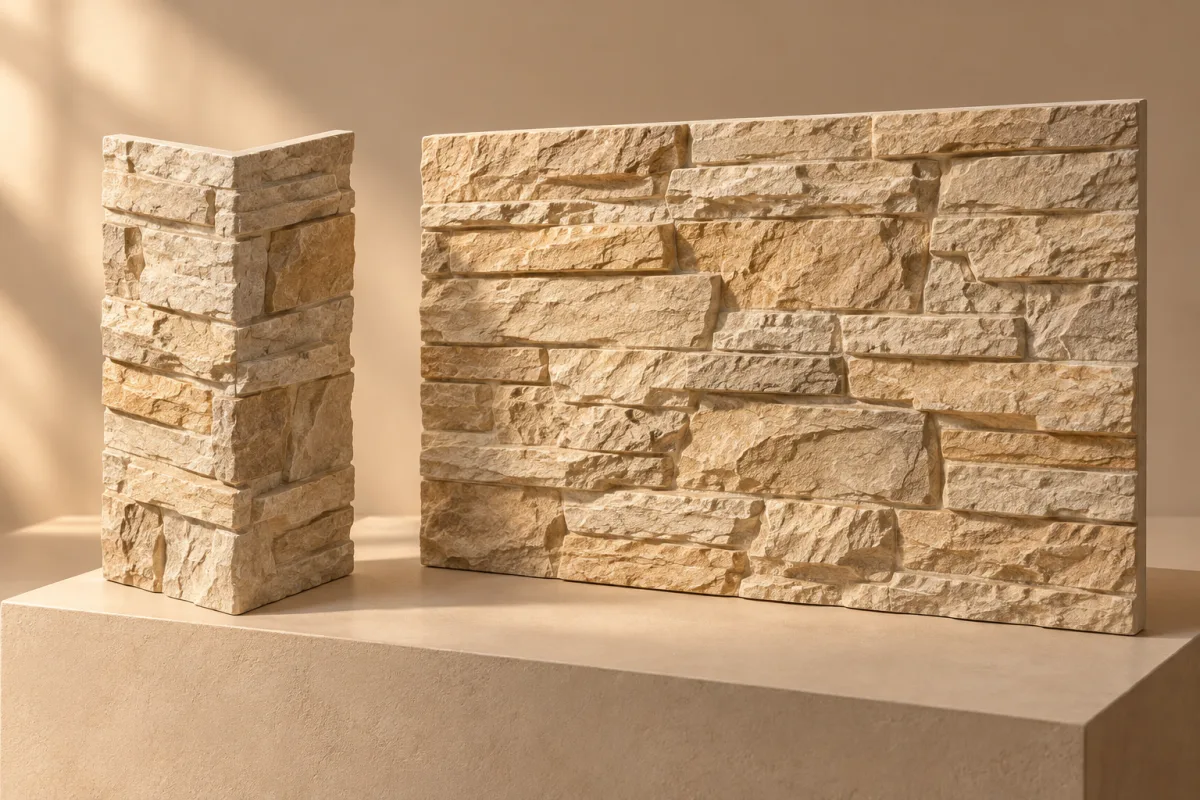
Ask whether the selected design has a compatible molded corner, or requires an approved cut-and-finish detail. Compare a complete mock-up, then measure corner lengths and returns separately from flat wall area. Do not assume either option is available for every model.
Compare the two options without assuming equivalence
A molded corner can provide a purpose-made turn, but its dimensions, texture and availability must match the selected panel range. A mitred arrangement depends on the approved cutting, joint and finish method and the installer’s execution. Texture Plus illustrates different corner approaches for its own products; those details are not installation instructions for a Luvie panel. Request the selected supplier’s detail and a physical example. Compare how each option handles the actual wall angle and relief, rather than deciding from a small front-facing swatch.
Measure outside corners, inside corners and returns separately
Mark every change of direction on an elevation. Record corner height, the length of each return, openings nearby and which faces remain exposed. Distinguish an outside corner from an internal junction or a simple panel edge. Ask how the proposed corner piece overlaps or meets flat panels so quantities are not counted twice. Keep linear corner requirements separate from flat coverage until the supplier confirms the product dimensions and coverage method. Do not insert a standard waste percentage without reviewing the actual cutting layout and replacement needs.
Approve the whole corner under project lighting
Build or request a representative mock-up showing both faces, the joint and the adjacent flat panels. Review texture continuity, color, exposed edges and visibility from the intended viewing positions. A photograph from one flattering angle can hide an awkward return. Confirm who supplies any approved finishing materials and who is responsible for their application. Do not assume ordinary paint or a generic filler is compatible. If the project has exposure or fire-performance requirements, review the complete specified assembly separately; an attractive corner does not establish technical suitability.
Turn the approved detail into an order schedule
List flat panels, compatible corner references, trims and approved finishing items as separate lines. Mark items still awaiting confirmation rather than substituting an unverified accessory. Attach the accepted mock-up photographs and revision of the layout to the order. At receipt, compare reference codes and appearance before distributing pieces across projects. Plan identifiable spare pieces based on the agreed layout and maintenance need, not a universal allowance. Keep the installation detail with the project handover so another installer can reproduce the approved junction.
Next step
Choose a PU stone-look finish from the catalog and send corner elevations for discussion. Confirm availability, the full mock-up and the quantity method before treating the wall-area calculation as a complete order.