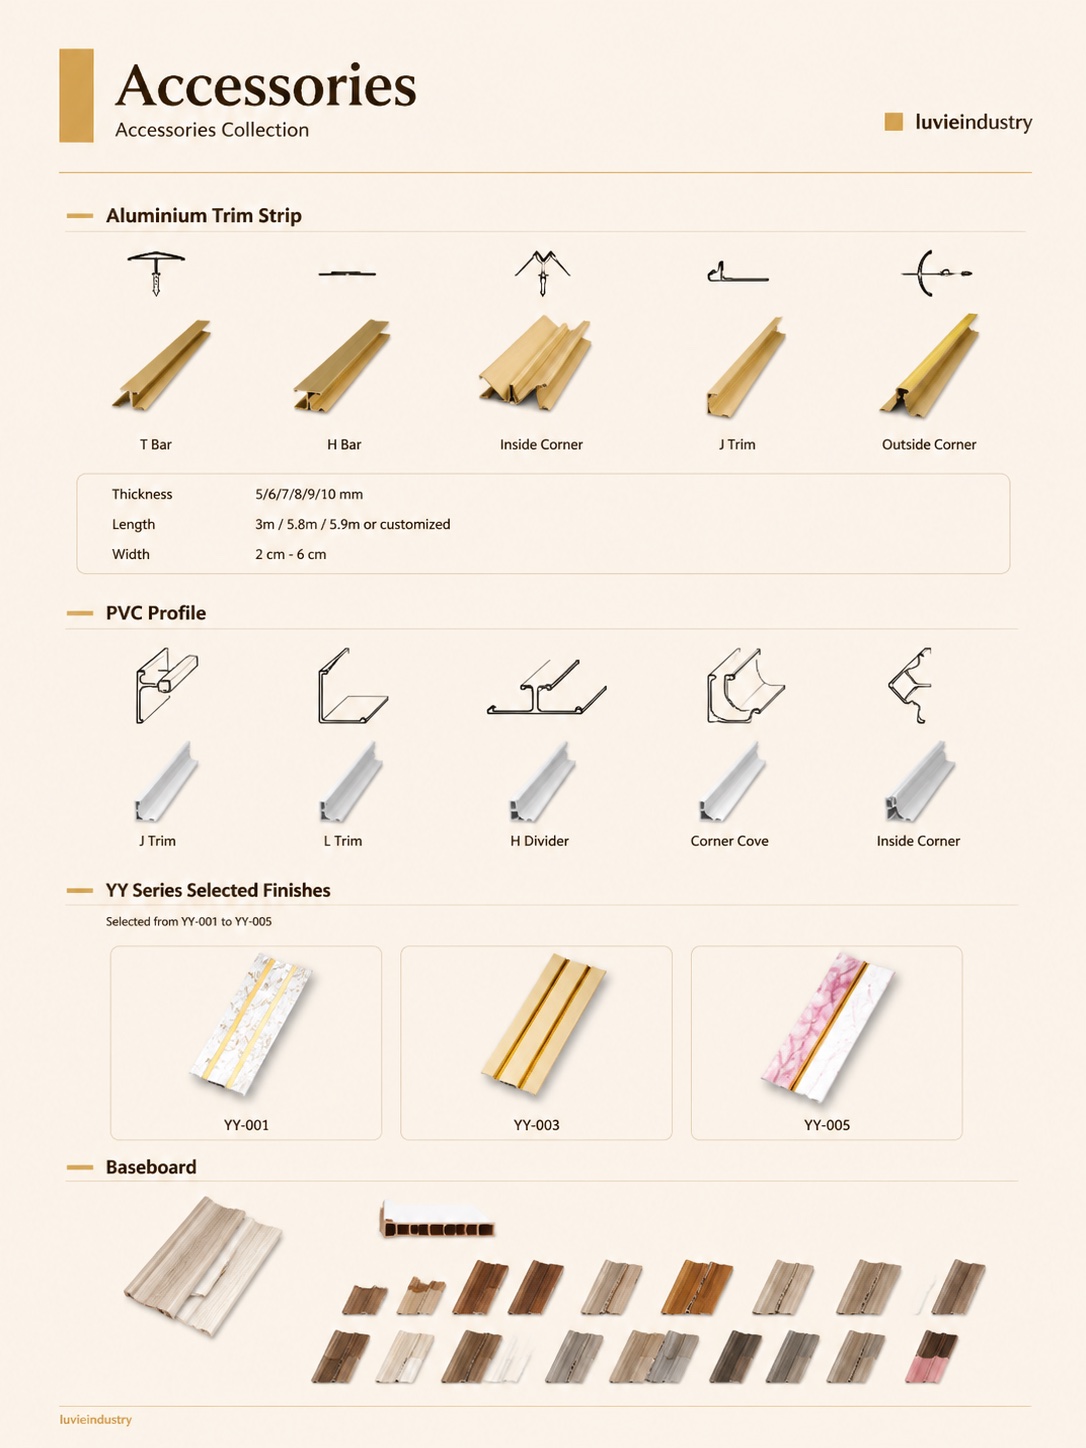
Map each wall condition before choosing accessories
| Wall condition | Typical accessory role | What to confirm |
|---|---|---|
| Starting or exposed edge | Starter, J or end trim | Panel thickness, edge coverage and visible finish |
| Inside corner | Inside-corner or cove profile | Corner angle, insertion depth and installation sequence |
| Outside corner | Outside-corner profile | Impact exposure, leg size, colour and edge protection |
| Panel-to-panel transition | H divider, joint strip or controlled seam | Compatible thickness, joint visibility and movement allowance |
| Top, bottom or material change | L, T or transition profile | Adjacent finish levels and required coverage |
| Lighting detail | LED-compatible channel or reveal | Heat, electrical access, diffuser and maintenance route |
A matching colour is not enough
A trim can look correct in a catalog and still fail the installation check. Compare the trim opening with the actual panel thickness, test the connected pieces, inspect the corner from normal viewing distance and confirm how it is fixed.
For metallic and high-gloss details, review colour under the same light as the panel. For printed or wrapped trims, retain the approved physical combination. Do not assume two items with the same colour name come from the same production reference.
Keep fixing materials in a separate approval lane
Clips, screws, adhesives and sealants perform different jobs. Their selection depends on the panel construction, substrate, room condition, joint design and local installation requirements. A decorative trim should not be used to hide an unverified bond or a wet substrate.
Ask the installer or project designer to confirm the fixing route. Where an adhesive or sealant is proposed, test it on the exact face, back and substrate before full installation, including any risk of staining or visible squeeze-out.
Measure accessories by condition, not panel area
- Count starts and ends as linear lengths.
- Measure inside and outside corners separately.
- Identify transitions around doors, windows, skirting, ceilings and other materials.
- Add only the joints that actually use a profile; some panel systems create their own visible seam.
- Convert total length to stock lengths and round up for cuts and damaged ends.
- Label accessory cartons with the related panel model and room or project zone.
Build one approval board for the complete detail
Join two real panels, one inside corner, one outside corner and the proposed terminal trim on a compact mock-up. Add the fixing component behind the board if possible. This lets sales, purchasing and installers discuss the same system rather than separate catalog images.
Photograph the approved board with model codes visible, but keep the physical board as the controlling reference for finish and fit.
Buyer FAQ
Which trims are needed for wall panels?
The answer depends on the layout. Typical conditions include starts, exposed ends, inside corners, outside corners, panel joints and transitions to floors, ceilings, doors or other materials.
Can one trim fit every wall panel thickness?
No. Confirm the trim opening, leg dimensions and connection against the exact panel profile and thickness.
Should trims be ordered in the same colour as panels?
Often yes, but a deliberate contrasting metal trim can also work. In either case, approve the real combination under relevant lighting.
How are wall panel accessories calculated?
Measure each condition in linear metres, divide by the available accessory length, round to whole pieces and add a practical cutting allowance.